 And since I promised to share some of my Pinterest projects, here's a shot of Toddling M's re-vamped room. I spy 8 projects on this wall
 And since I promised to share some of my Pinterest projects, here's a shot of Toddling M's re-vamped room. I spy 8 projects on this wall
 Living Room...
 2nd view of the Living Room... {Spy the Ikea finds: frames, throw, lamp}
 I have to remind myself there are layers to decorating a house. Ours isn't where I'd like it to be and I have to keep things neutral to keep it marketable {because this is temporary} but it's much warmer and more like home.
  The 50% off chalkboard had a very silly print on top that I easily painted over. Then I used a hook to hang it on our refrigerator...

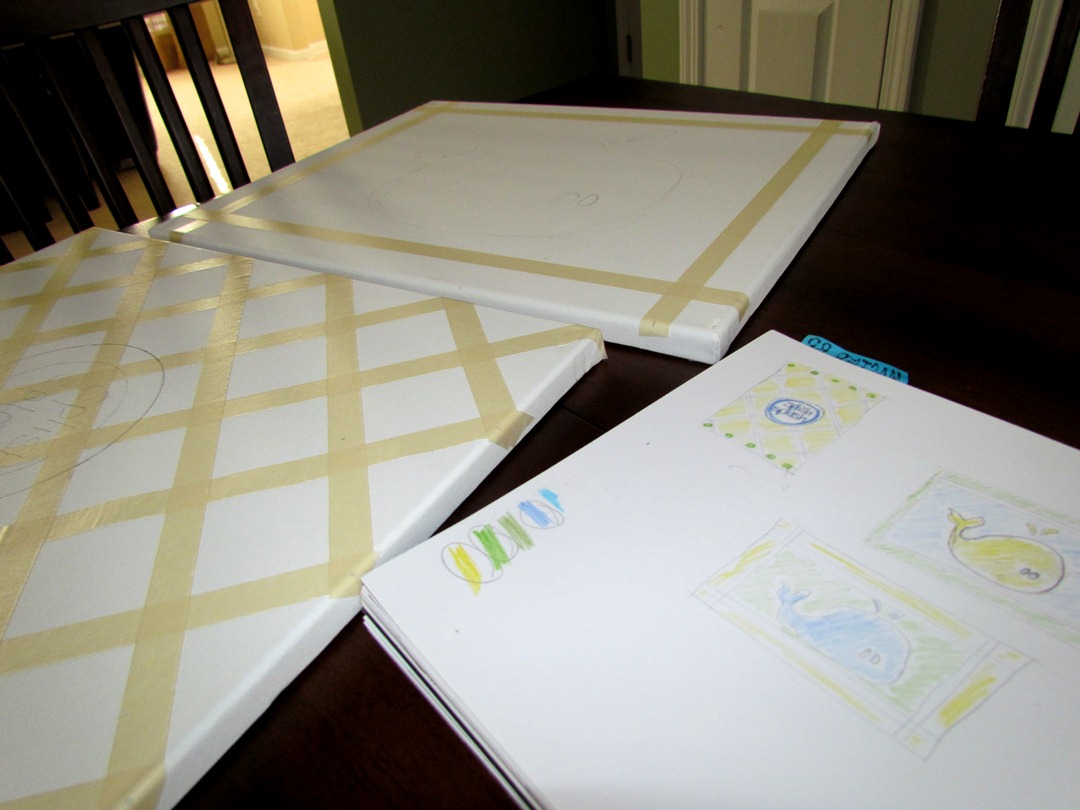


 Jullian $152


 Thankfully I've had a huge roll of burlap leftover from my sunroom redo {HERE}
 I needed 4 panels x 8'. I kept the rustic look going and didn't sew the edges of the curtains, but I did at least iron the burlap and folded then ironed down a 1" hem at the top and bottom of each panel.
 Then I ironed the hems down using Stitch Witchery...
 And I used simple "O" ring clips and hung the panels. But followed Life to the T's advice and used clothespins to "train" the curtain shape overnight.
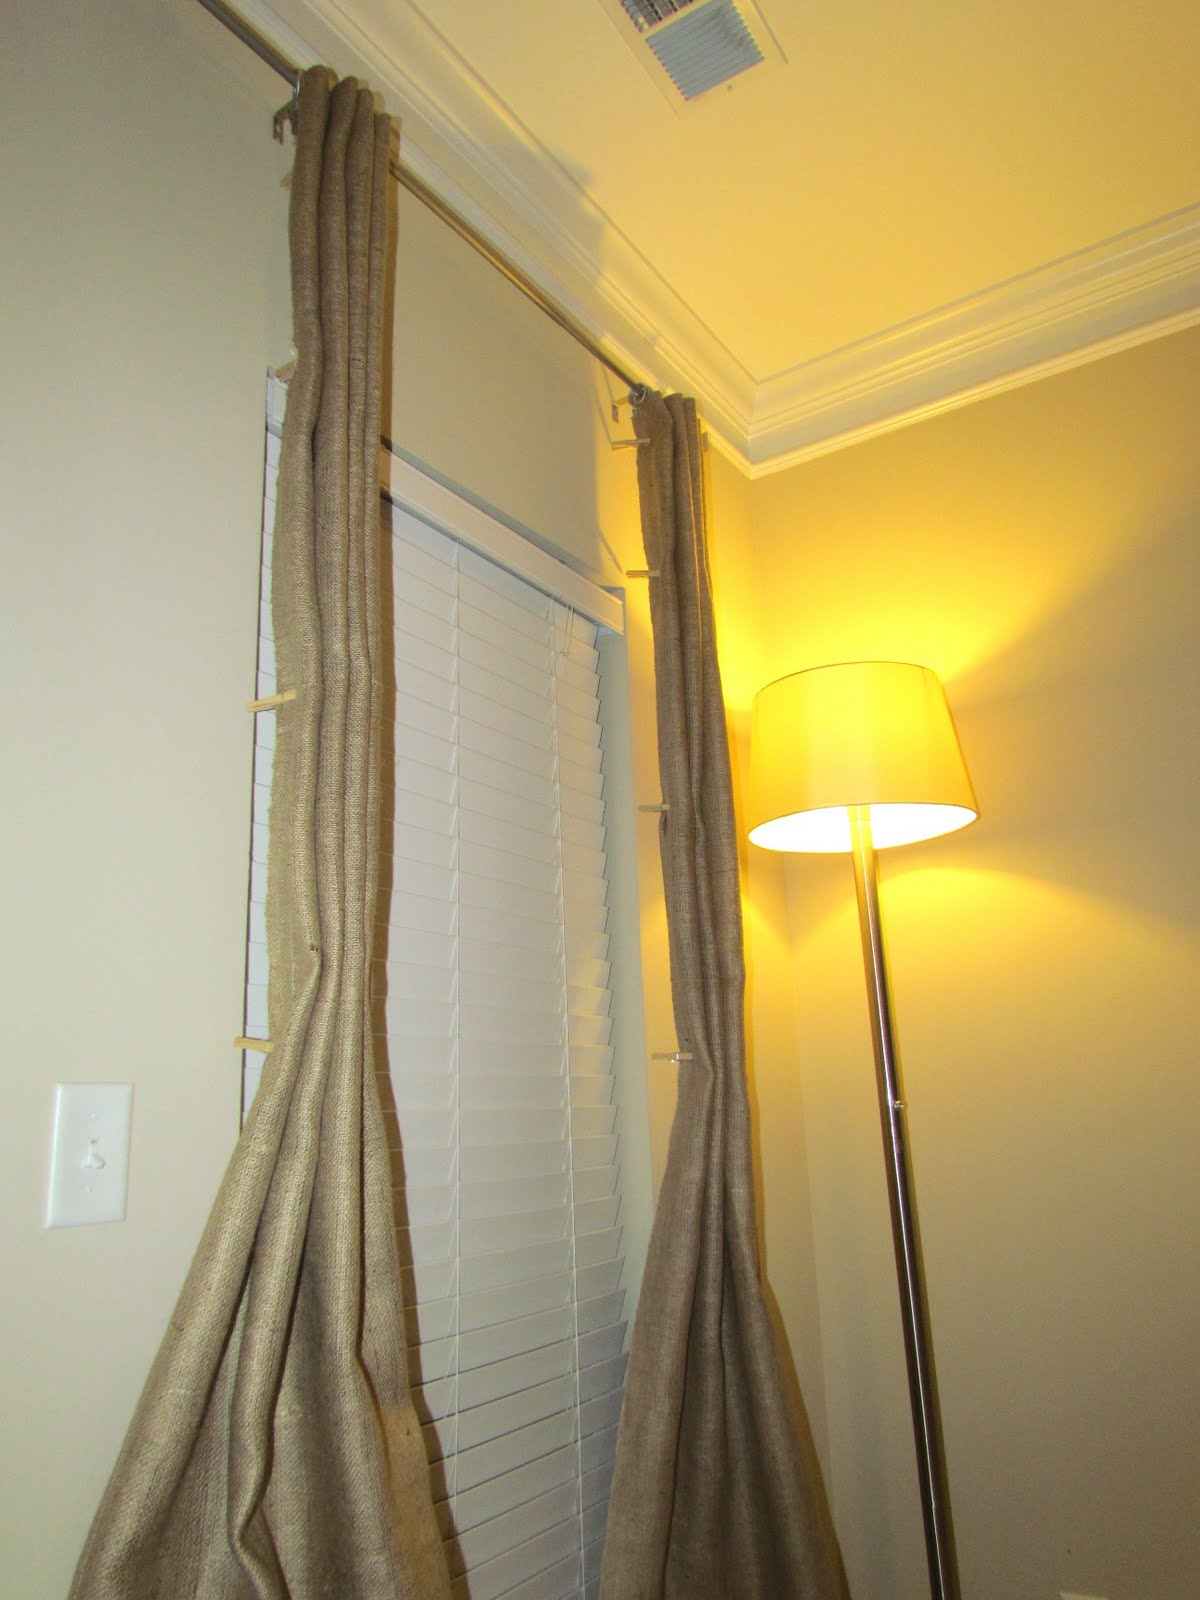 Et Voila!
 I know the room needs many more things and much more work to warm things up, but baby steps are getting us there!
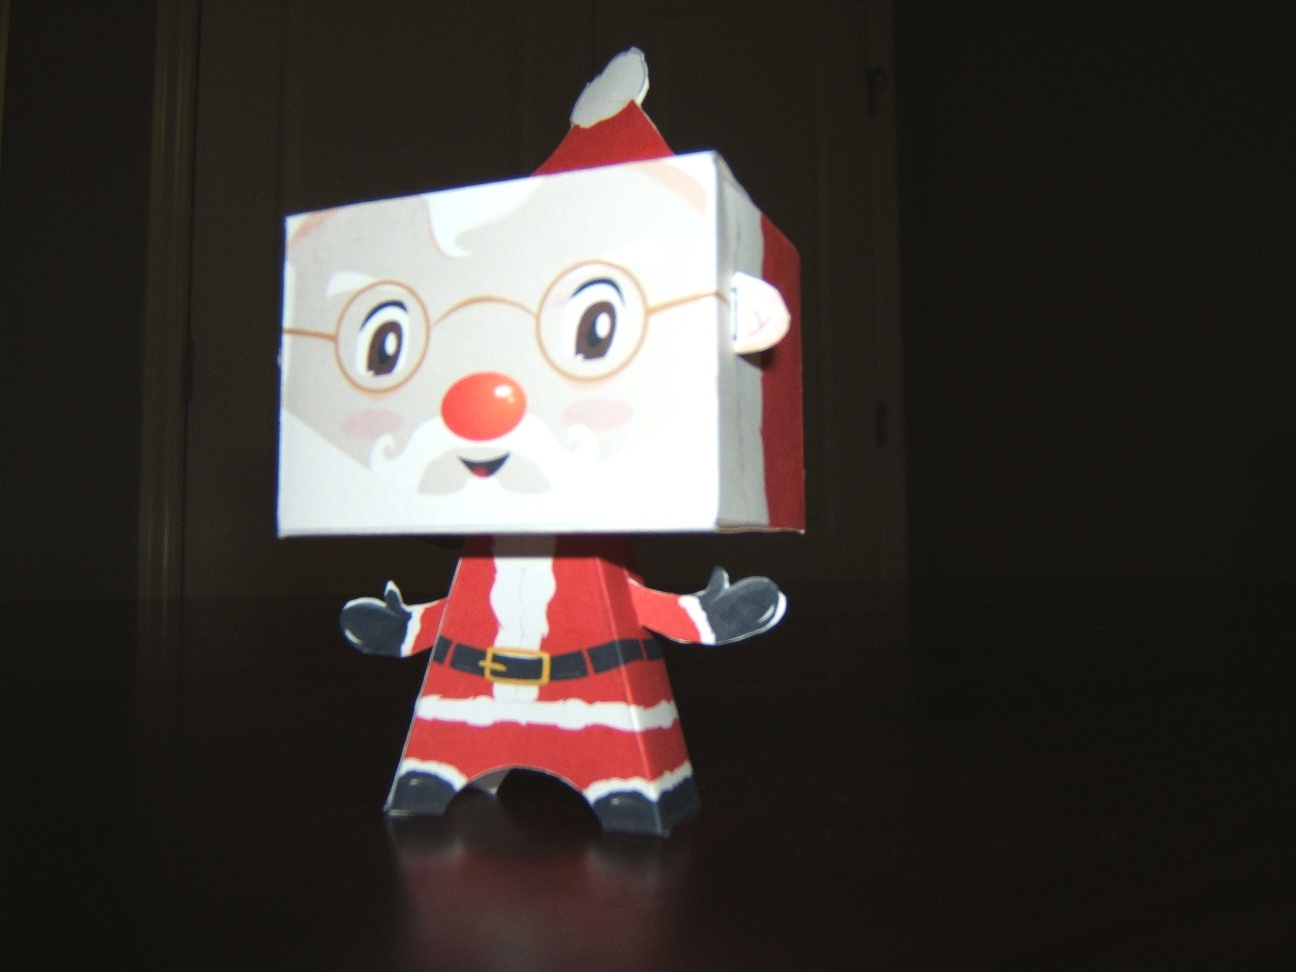
 I found some other really cool printables and ideas to tackle myself. Like this paper Santa Claus with free downloadable {HERE}. We surprised Scott last night and put it in his computer office. I thought the little guy was fun and quirky!
 And I just put up our Merry Christmas banner in the living room...framing our lovely huge TV above the fireplace {yeah. not a fan of exposed electronics...hide them if you can!}.
 And we went about a week without a tree topper, so I wanted to try my hand at one of the oversized boutiquey bows. But when I went to a local shop to buy the big ribbon, they had some already-made ones on sale for less than the original cost of the ribbon. SOLD! They also have some pink ribbon too, so I'll probably make one of these for when Baby D arrives too.
 It's beginning to look a lot like Christmas!


SOME SHOPPING
But for those of you who haven't yet exhausted your Christmas shopping list and/or you just enjoy shopping in general, did you know that this Friday, December 17th is Free Shipping Day? Omigoodness...I'd take advantage of it like crazy if I could =)
But thought I could at least pass this along {HERE} BYE BYE BLUE!
 Little vignettes on the shelving...
 Tabletop decor...
 And who needs curtains if you deck wreaths on the windows? {joking...no, we really NEED curtains/window treatments to warm things up}
 And then stockings hung by the chimney with care... {thanks to Gigi for Baby M & our pug's stockings in the center}
And then of course, we'll soon have to tackle the bigger challenge of making room for Baby Deuce. Right now the 3rd bedroom/closet is Hubby's necessary workspace.
*SIGH* But I suppose these are the types of challenges that allow our creativity to thrive...
 I printed off a matching black and white chevron/zig-zag pattern.
 And then measured the candlesticks so I'd know the size for each sleeve.
 I cut out 6 rectangles and then used double-sided tape to make 6 paper cylinders.
 Then I began to slip them onto each candlestick {notice the writing on the barren candlestick on the left}
 It was a an easy transformation.
 And just one of those tiny details that helps finish off the look.
 Of course, then I realized my dining room lighting was in dire need of help too.
 So I ripped another page from my Botanical Print book {Taschen, the same one used for the prints framed on the wall}. What an easy change!
